Image may be NSFW.
Clik here to view.
This 1/3-scale project really is an easy build, when you break everything down to it basic assembly tasks. I started roughly in October and I began the project by building the tail surfaces including the horizontal stabilizer, the elevator halves and the rudder. These surfaces have laminated edges so you have to use the included laminating templates/forming pieces.
Image may be NSFW.
Clik here to view.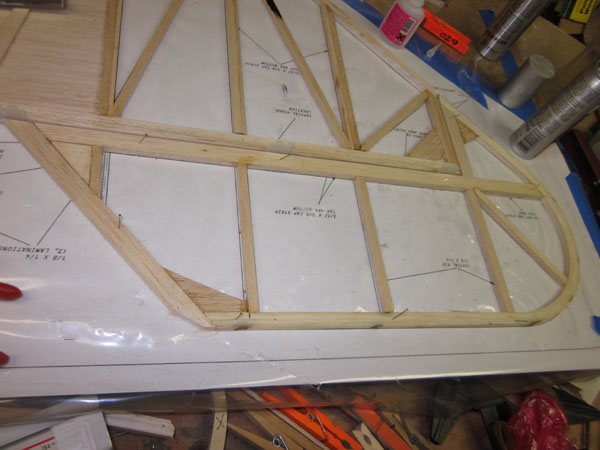
Image may be NSFW.
Clik here to view.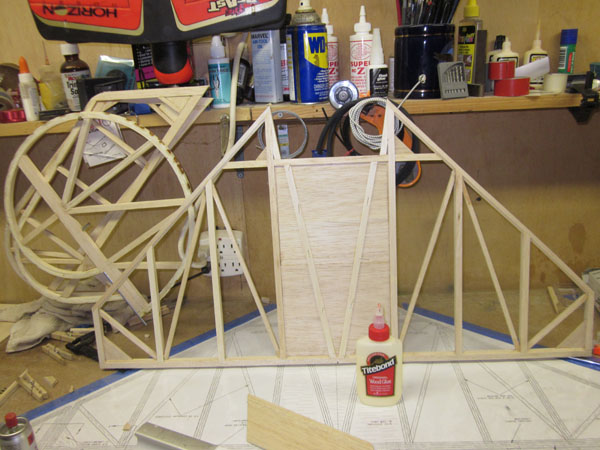
Next I worked on the main fuselage structure and then installed the functional shock absorbing tailskid. A loop of 1/8 inch bungee is used inside the fuselage anchored to a strong dowel to hold the tailskid in place.
Image may be NSFW.
Clik here to view.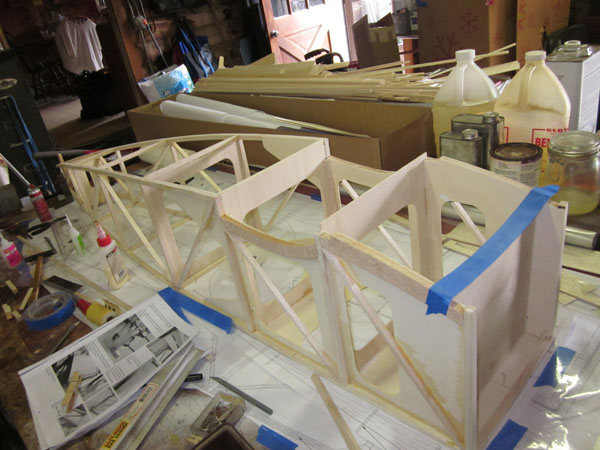
Image may be NSFW.
Clik here to view.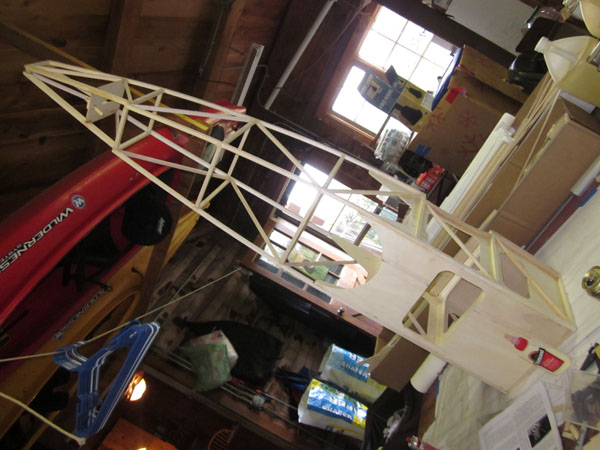
Image may be NSFW.
Clik here to view.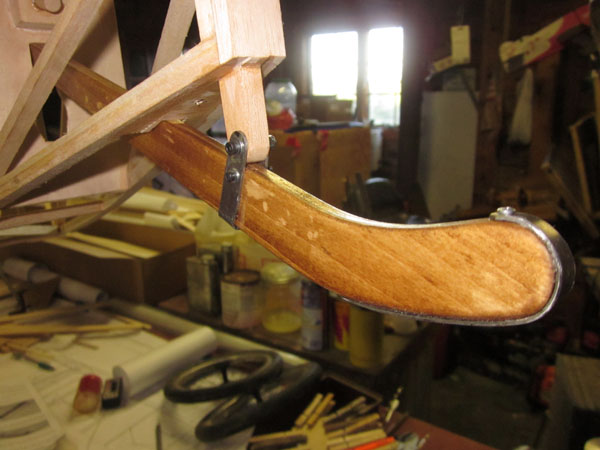
Next I installed the engine onto the firewall and then glued the firewall into place inside the front of the fuselage.
Image may be NSFW.
Clik here to view.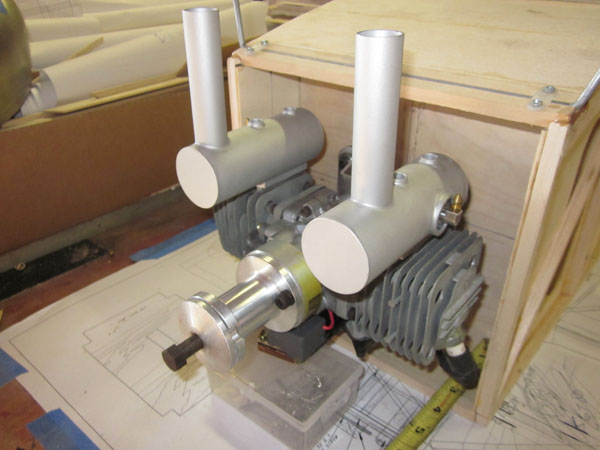
After this was done, including the engine soft mounts, I worked on the landing gear and then assembled the axles and shock-absorbing end plates, again with bungee cord loops.
Image may be NSFW.
Clik here to view.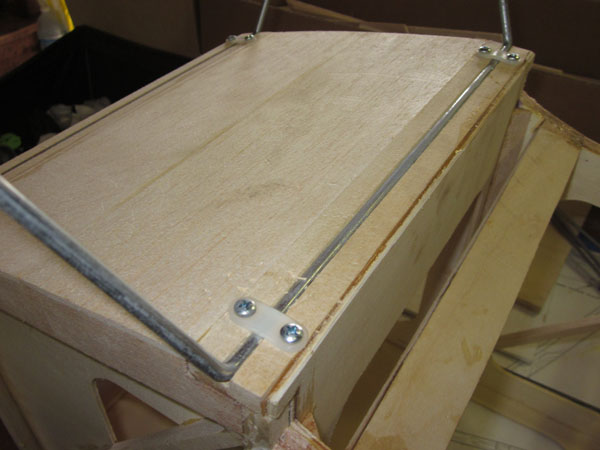
Image may be NSFW.
Clik here to view.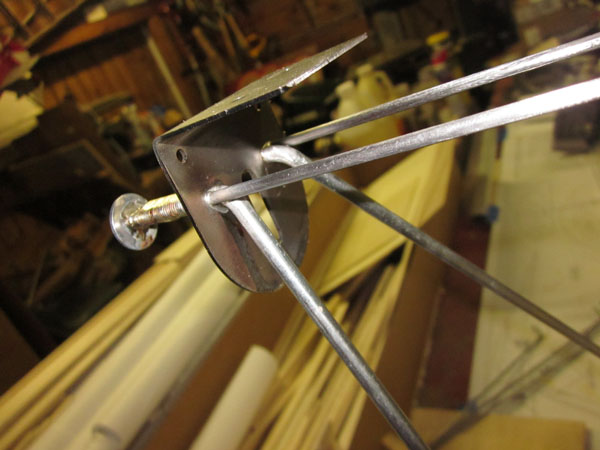
With that finished I built and installed the sub wing structure that covers the axles and fits between the wheels.
Image may be NSFW.
Clik here to view.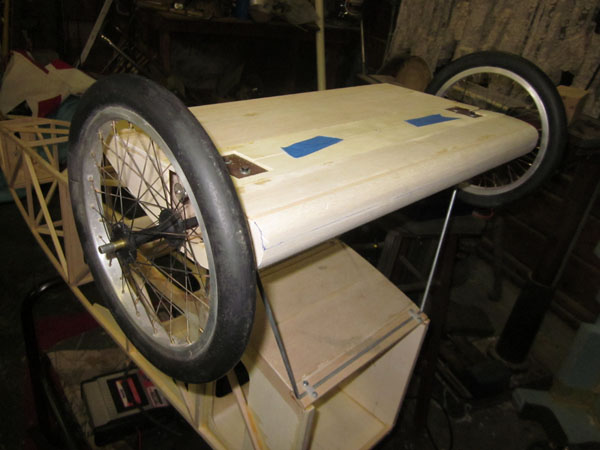
Then I started on the wing panels. I started with the bottom wing and then moved onto the middle wing.
Image may be NSFW.
Clik here to view.
Image may be NSFW.
Clik here to view.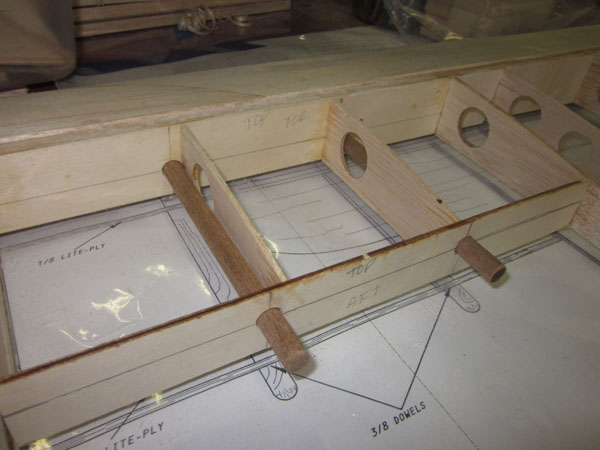
Image may be NSFW.
Clik here to view.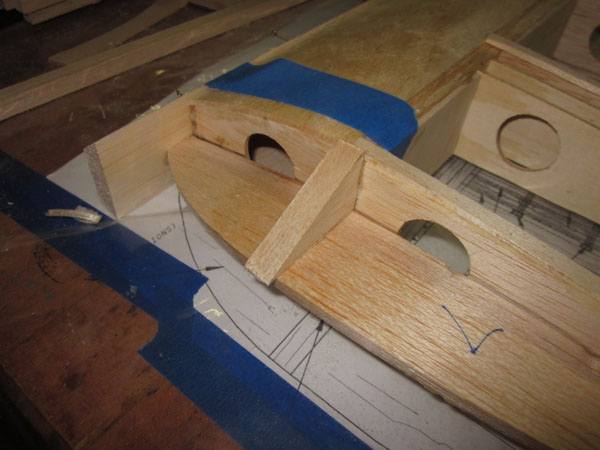
Image may be NSFW.
Clik here to view.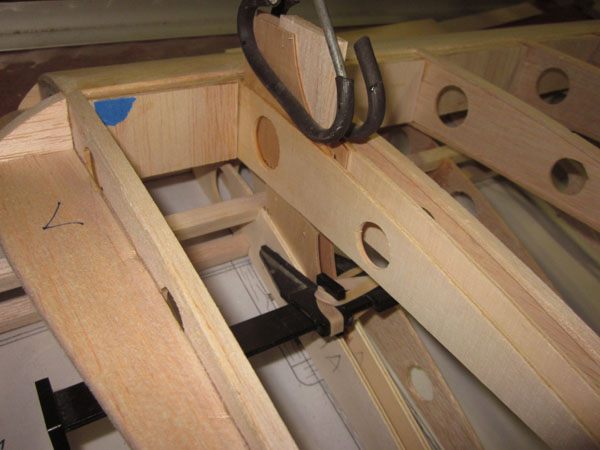
That’s where we are now, and I am cleaning up the bench so I can layout the plans for the top wing. All in all, not too bad for a kit built 1/3-scale triplane. In about two weeks or so, we’ll be ready to start covering!
Image may be NSFW.
Clik here to view.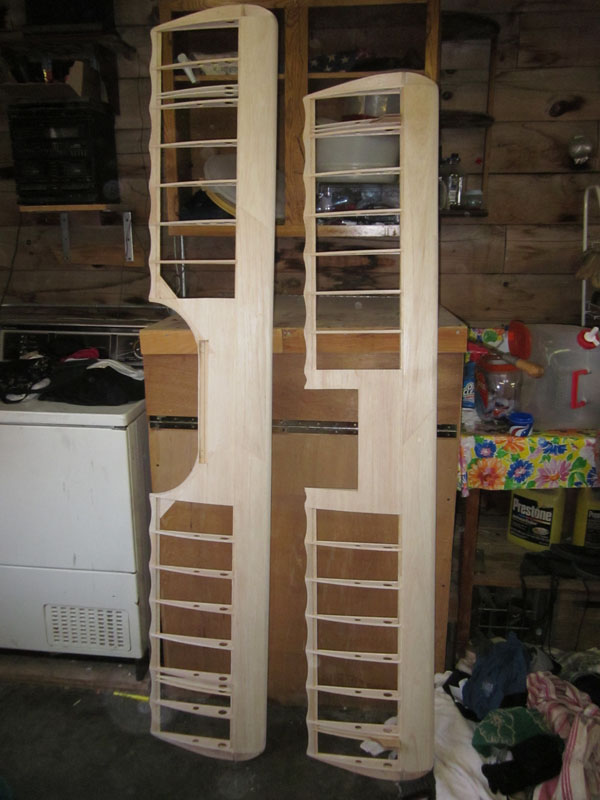
See the next Post at: http://www.modelairplanenews.com/blog/2013/03/04/latest-from-the-members-only-site-giant-scale-triplane-build-along/
