It has been a little while since our last posting for the Sopwith Camel Build-Along, but we are making some progress. Last time we covered the basics of applying Stits Lite Poly Fiber covering material and now we continue with the basic steps required to make it ready for painting and finishing.
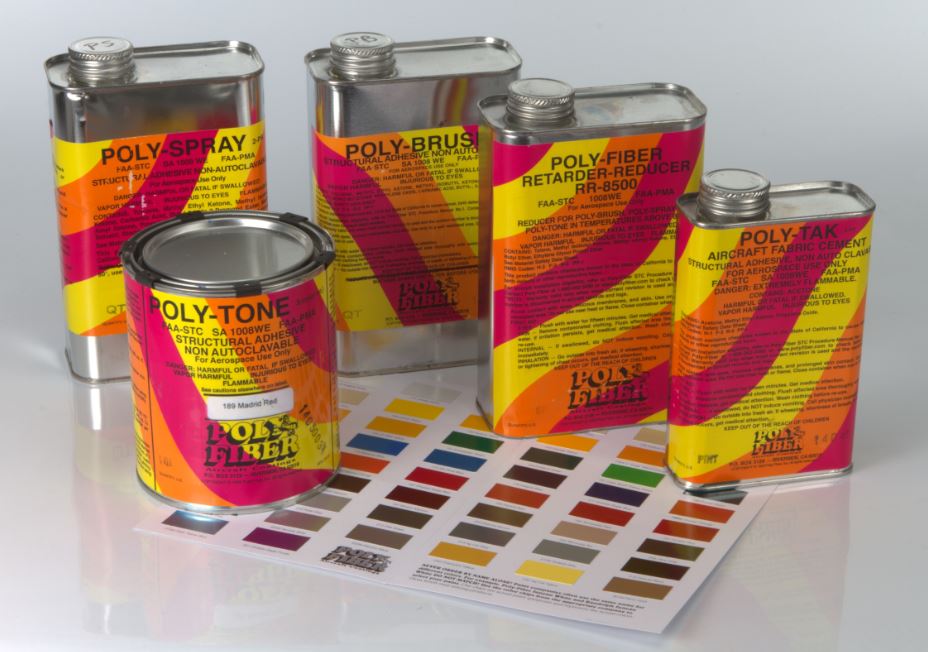
As mentioned before, the Poly Tone and Poly Fiber materials used in the Scale Stits covering and painting process, are designed to work together. There is both a chemical and a mechanical bond between the fabric and model structure, and between each coat of the finishing process on top of the fabric. This makes repairs later on very easy. Also, using MEK as the solvent, you can strip all the material off a model and get down to bear fabric.
Being that MEK is a very harsh solvent, it is extremely important to protect your skin from the chemical. I use Invisible Gloves hand cream to do the job. It works great and is very effective in preventing the solvent from absorbing into your skin.
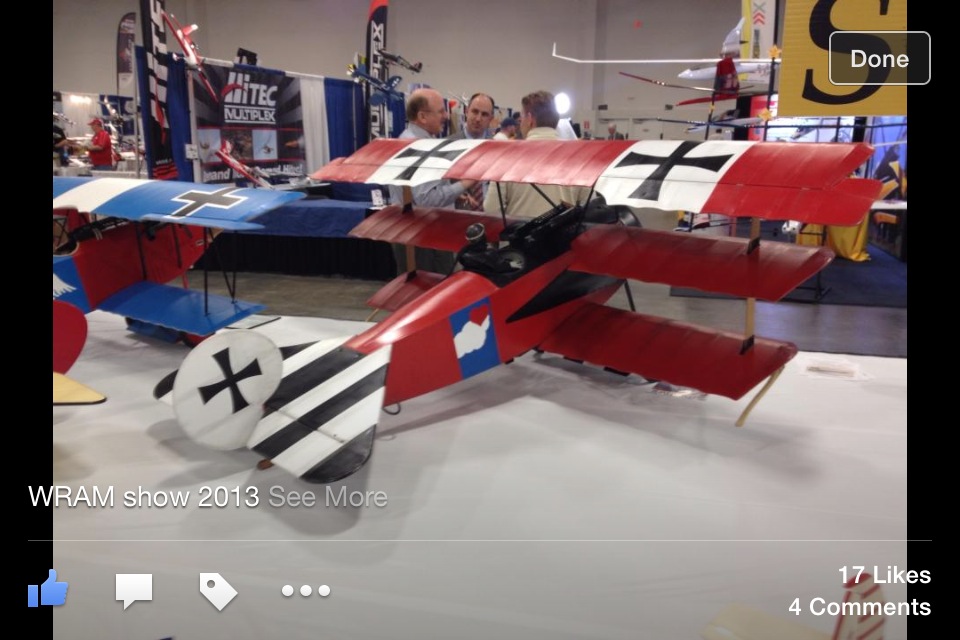
The Stits process was also used on my last project, my 1/3-scale Fokker Triplane I built from the Balsa USA kit. The model is shown here. If you want to see the entire covering process (it is exactly the same as for the Camel), do a search for Triplane and the whole build-along series will come up.
Before prepping the fabric for painting, it is very important to do your very best job in covering. A great paint job won’t cover up a poor covering job with ugly seams and wrinkles. So don’t settle, do your best and make your covering as perfect as you can.
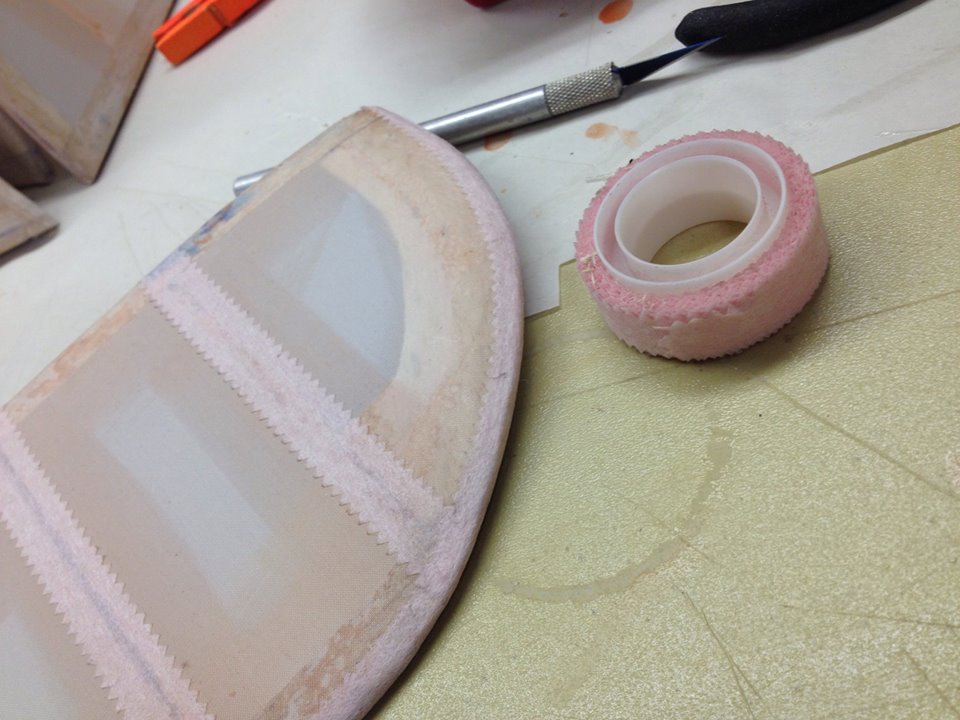
Be sure also to make neat seams at all the corners and oedges on your model. Here you see the exposed wood inside the top window window. Either cover it with more covering material or, cover the area with surface tapes as I do. More on this later.
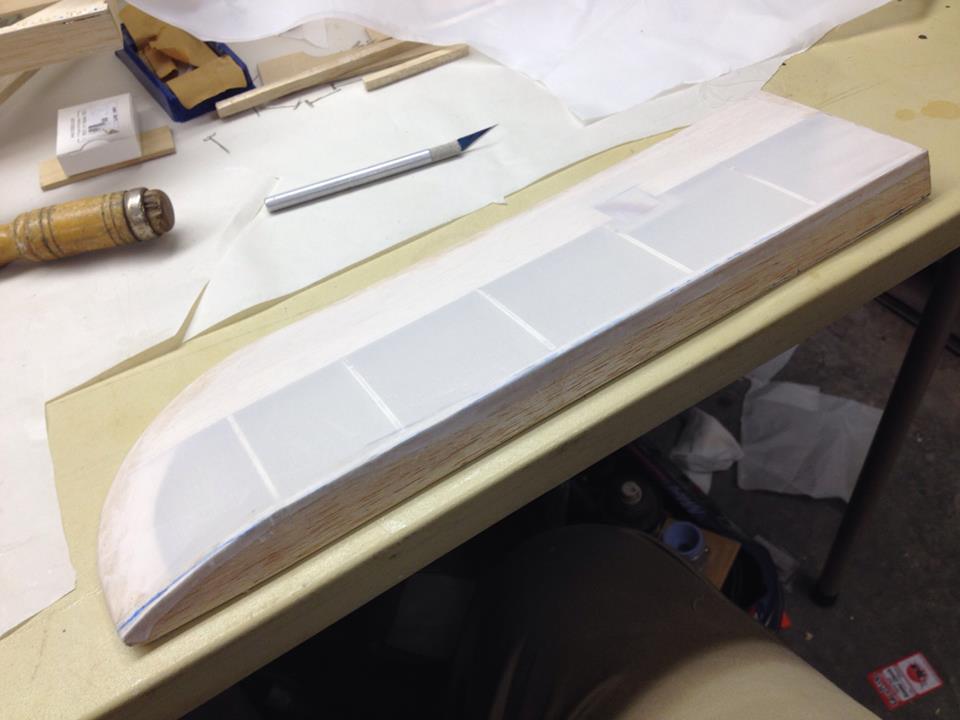
Here is one of the ailerons freshly covered with Stits Lite. Here again you see the exposed wood on the leading edge. To minimize the covering thickness, I simply cover the wood with the surface tapes.
Applying Poly Brush fabric sealer is best done with quality brushes. I use sable hair art brushes and I clean then between use with MEK. I use the narrow brush for sealing the tapes and the wider brushes for applying the sealer along the covering so it flows evenly with minimal brush marks. THe sealer dries quickly so work fast on small sections of the model.
I first apply the rib tapes and then I go around the edges. This gives a better look to the edges for a cleaner appearance.
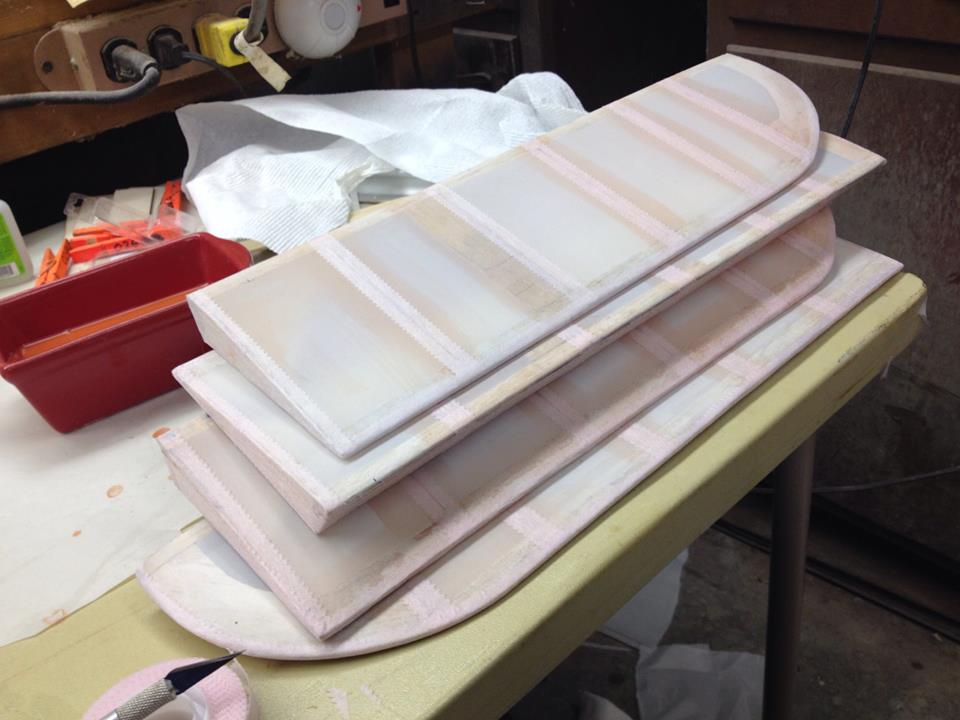
There are several kinds of pinked tape available and for the Camel I chose the tried and true, hair setting tape available from Beauty shops and supply outlets. You will need about 6 rolls to cover a model the size of my quarter scale Camel. As you can see here, I applied a single coat of Poly Brush sealer over all the edges and areas where the tape will be applied. Poly Brush both seals the fabric weave and, acts as an adhesive to attach the fabric to the underlying structure.
Four ailerons done and now on to the tail surfaces. I like to start on smaller pieces and work my way up.
Horizontal stabilizer, elevators vertical fin and rudder all done with a single coat of sealer and tapes applied.
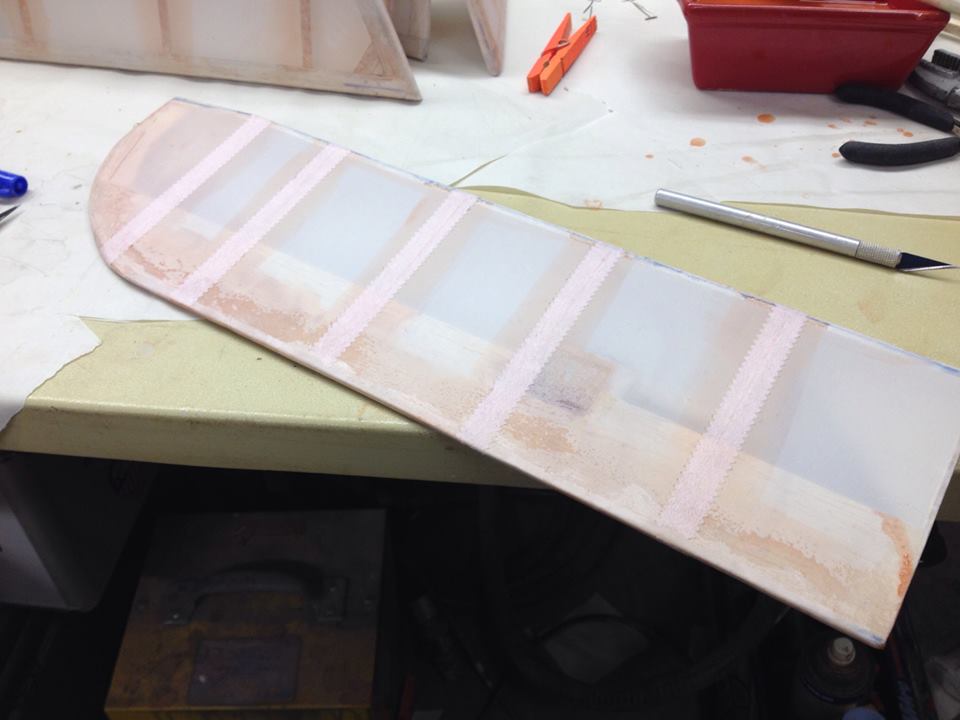
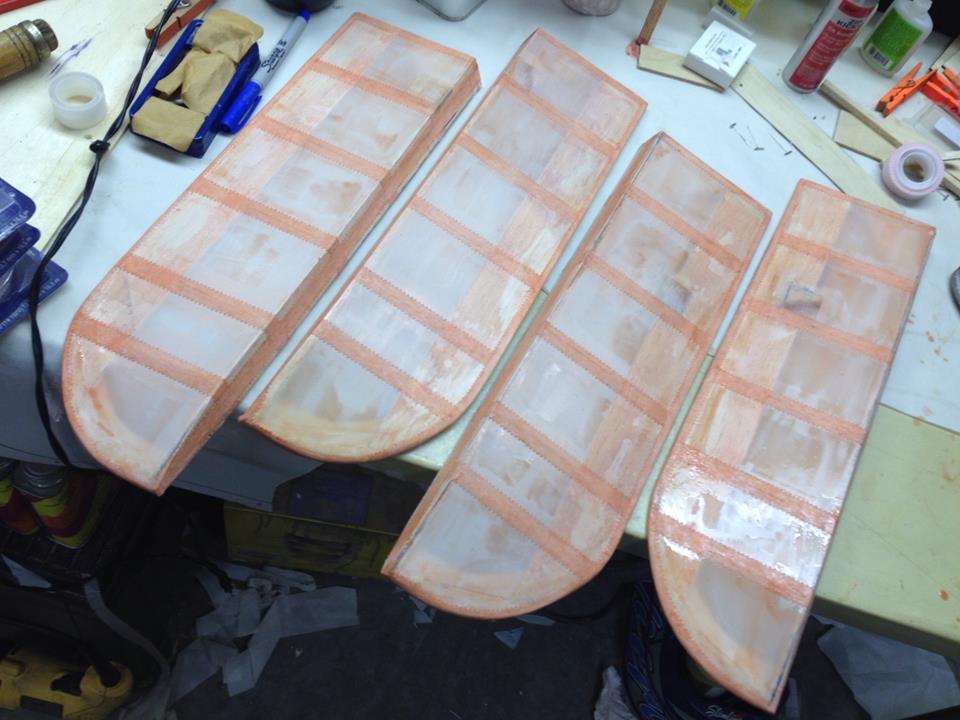
Now the process is all about building up a smooth surface coat after coat. I start by applying the Poly Brush to each of the tapes and then when all the tapes have a coat and it has started to dry, I move on to the flat areas between the tapes. I over brush the tapes applying a coat spanwise followed by a coat applied chordwise. This helps eliminate any chance of missing any weave. A total of three or four coats is good for a nice final finish. On the far left aileron (above) you can see the leading edge covered with a spanwise strip of tape covering the exposed wood surfaces.
FUSELAGE
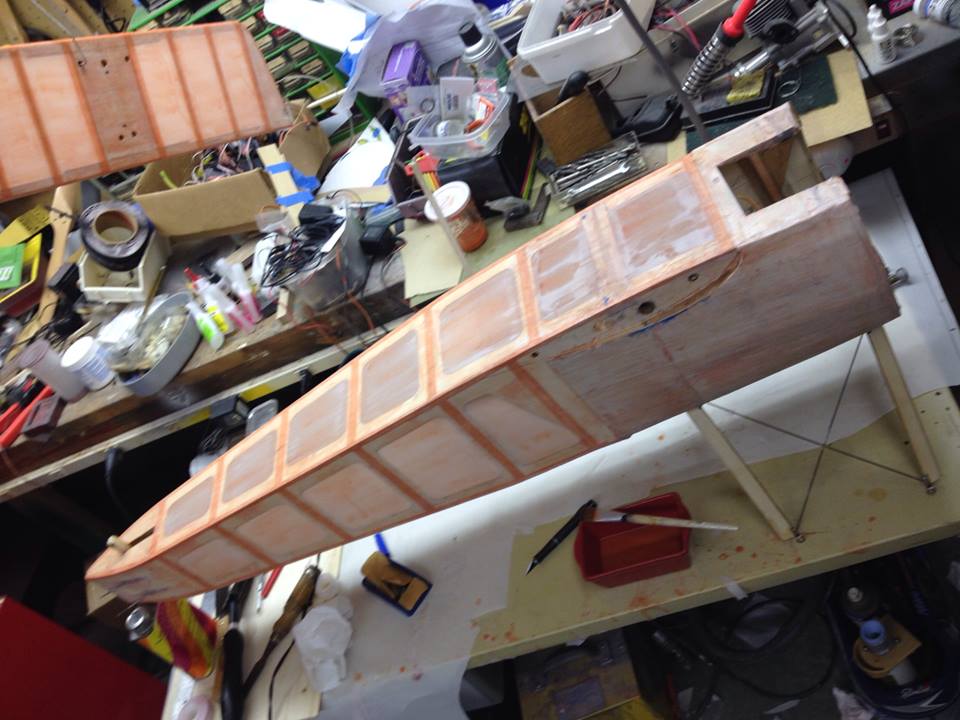
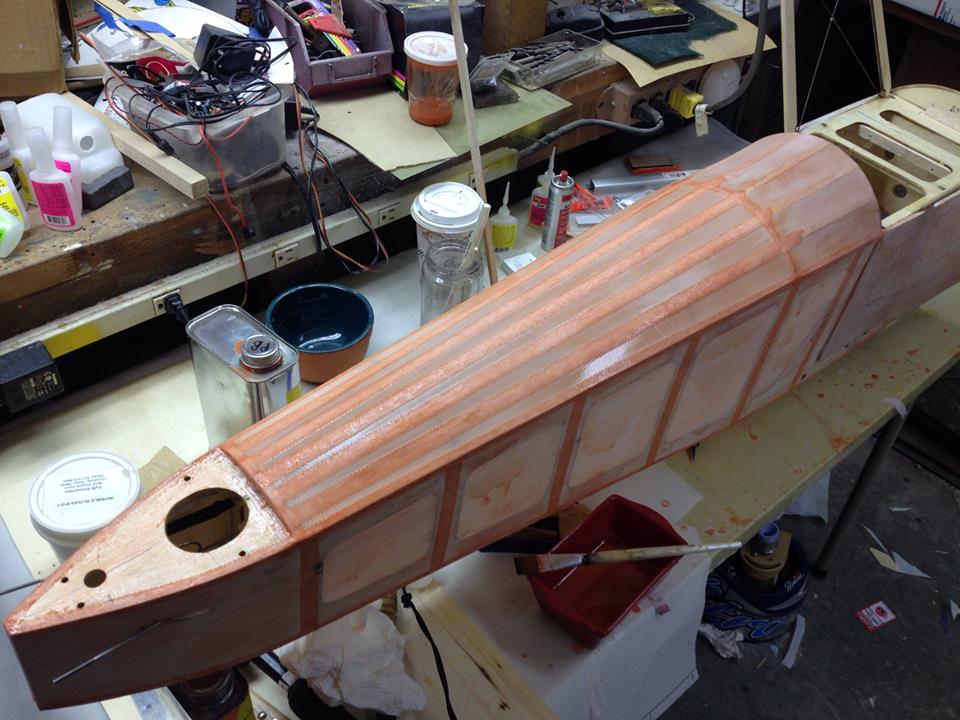
From the tail surfaces and ailerons, I move on to the fuselage. Four sides are a lot of work so start on the bottom and then move to the sides finishing up by applying the tapes to the top turtledeck surface. Do the same as with the tail surface and ailerons–apply a single coat of Poly Brush under where the tapes will be applied, then brush the tapes followed by the fabric covered areas.
You really can’t apply too much sealer, the more you use, the smoother the finish will be but there will be a slight increase in finished weight. Using several coats over the tapes is also good as the tapes are made from a porous paper material and more sealer makes for smoother looking tapes.
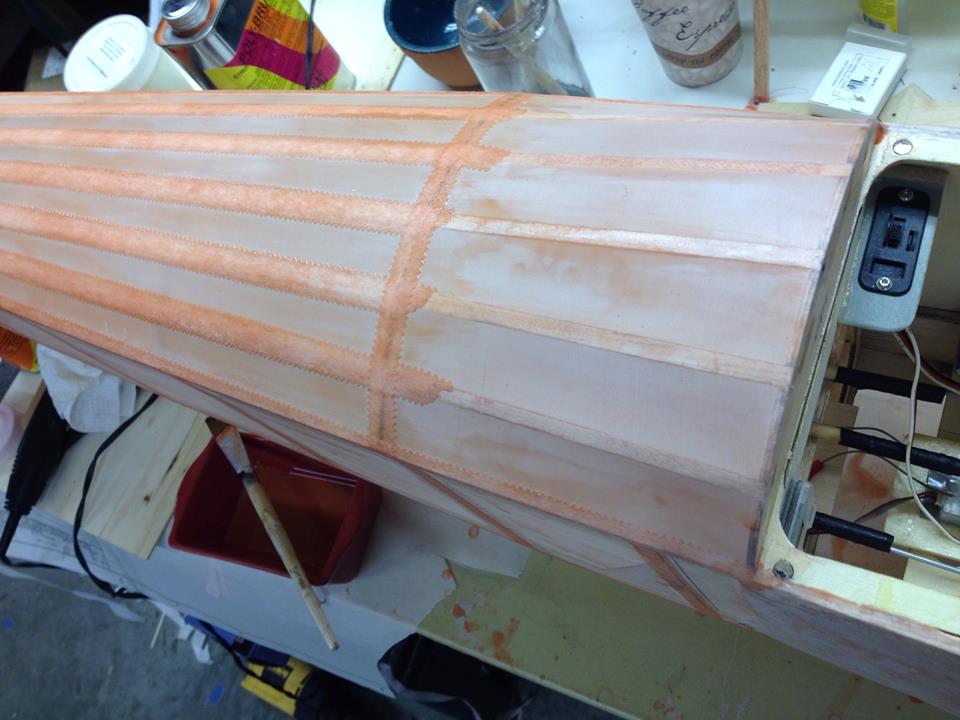
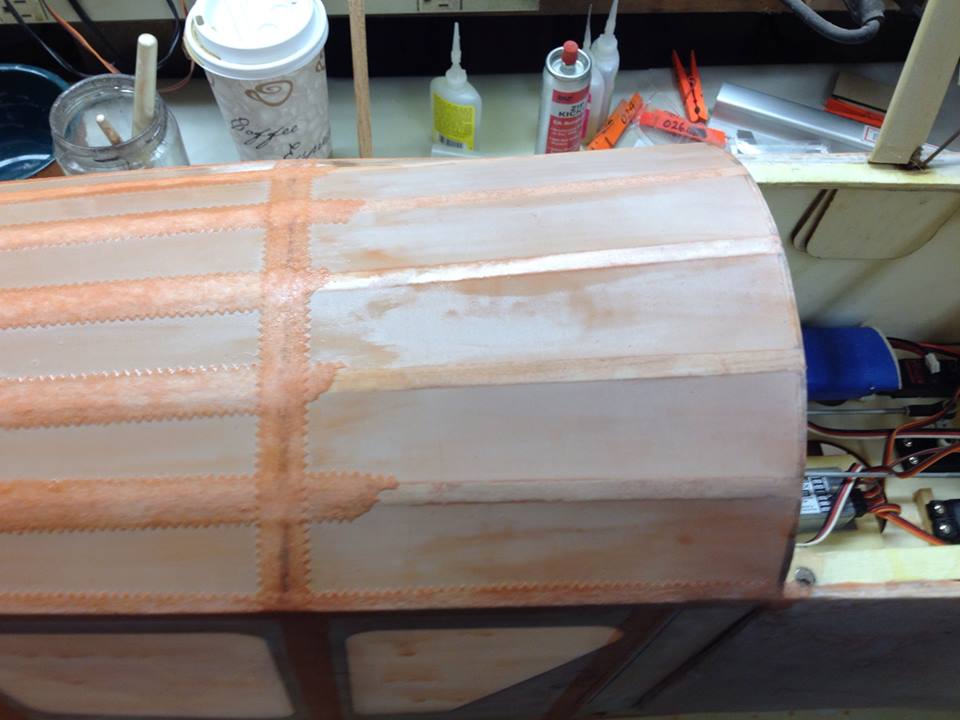
This is the turtle-deck section with one coat of sealer applied to the fabric and two coats over the tapes.
This section just behind the cockpit hatch area will be covered with a plywood panel so no tapes need to be added here. The tape on top of the former will be half exposed when covered with the aft edge of the wood panel.
WING PANELS
Next I move to the wing panels, specifically the bottom ones which are plug-in panels and half the size of the one-piece top wing. The wing panels also have half ribs between each full rib so there are a lot of tapes needing to be applied. After a good cleaning of the cloth, I set the panel up on some blocks and work on it, a top half and a bottom half, at a time. Here I have started to seal the tapes down. Also to speed things up a bit I didn’t apply sealer under the tapes, but will add several more layers on top of them as I want the tapes to really blend in for a smooth finished appearance.
As you can see, I only applied Poly Brush to the tapes and not the open areas. Once all the tapes are sealed down, I then start applying a spanwise coat of Poly Brush sealer using my widest brush.
Here you see the first coat of sealer drying on the wing panel. Notice also that the Poly Brush has nicely adhered the fabric to the main spar and the plywood hard point for the interplane strut attachment point. I will cut open the holes when the wing has been finished with sealer and before I shoot on the silver coat.
Here the wing panel is with a completed and dried first sealer coat. I will apply two more overall coats and several more coats over the tapes. Then two more wing panels and will be time to break out the spray painting equipment.
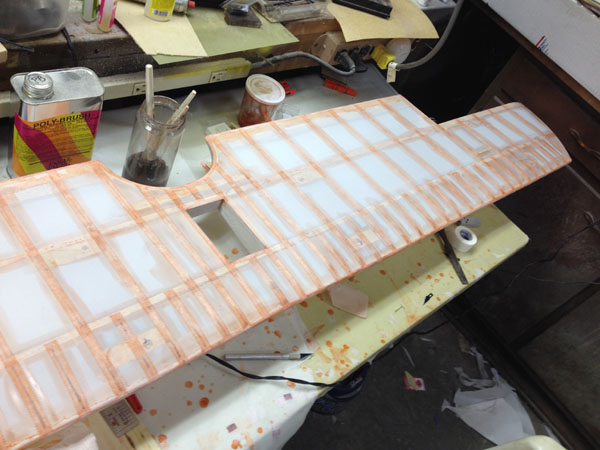
Doing the top wing is just like the other parts. Do a great job covering the wing structure, and apply the tapes over the ribs.
You can see that the fabric under the tapes was treated with a coat of the Poly Brush Sealer and then the tapes were applied over it. Also all the hard points get a coating of the sealer as well.
Then it is all about building up coats to fill in the weave of the fabric covering. One coat goes on span-wise and the next chord-wise. This helps even out any brush marks and prevents any weave from not getting sealed. Here there have been four coat of Poly brush applied.
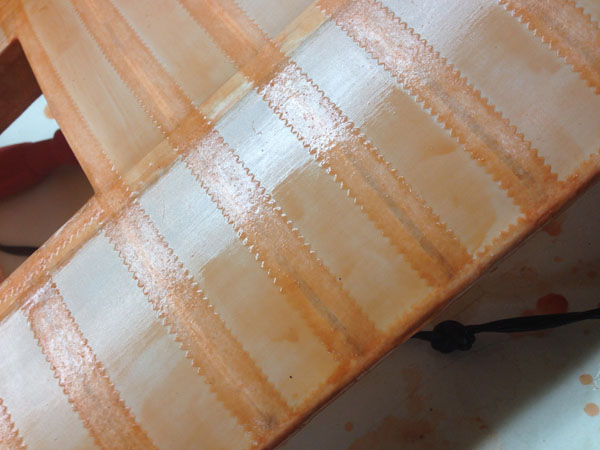
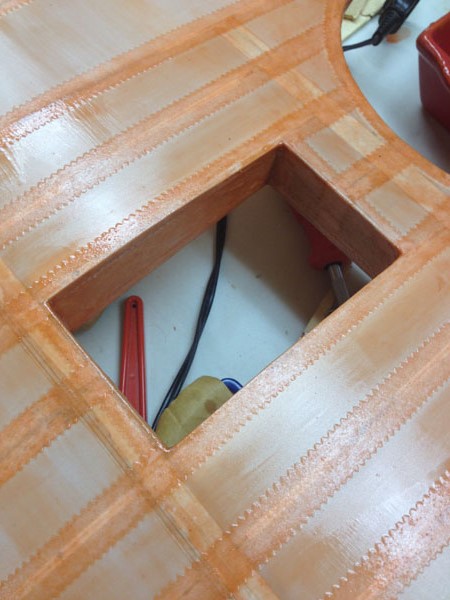
You can see here around the window opening, that the pinked tapes are starting to blend into the surface. A total of six coats produces a very smooth surface for painting.
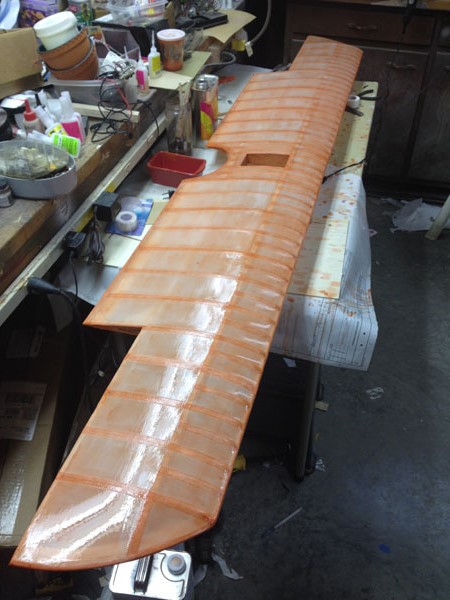
Before the final coat is applied, I run a green scotch pad over the wing to knock off any rough edges or lifted tapes. If you do find a section of tape needing smoothing, you can quickly apply heat with a covering iron to seal it back down. But do it quickly or you can damage the surface. Notice the shiny, smooth surface of the wing. it is now ready to dry over night. It will then be ready for paint.
Stay tuned and we’ll show what goes into spraying the silver and color coats!
